Personal Area
1.1 Access
The user's personal area is accessed by clicking on the tab “My personal area”

which will bring up the user validation window
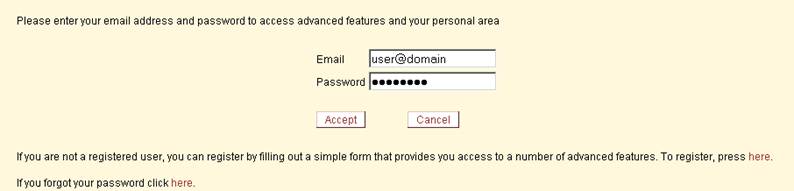
With the fields:
- Email – Email of the registered user.
- Access key – User password.
In order to access the system once the previous fields have been filled out, please click  . .
1.2 Register
If the user is not registered in the system, it is necessary to complete an entry form, which is accessed via the access window, but clicking on the link  appearing in the figure: appearing in the figure:
 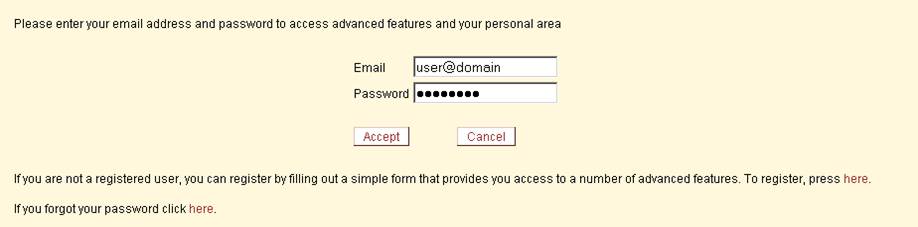
This action brings up the following form
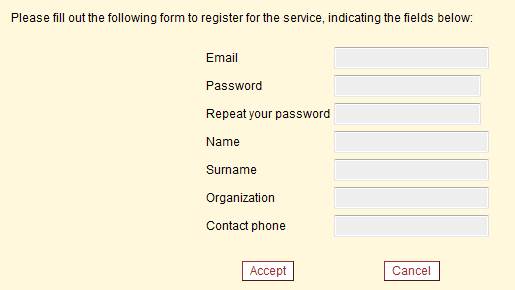
The fields are:
- Email – Valid email address for identifying the user
- Desired access key – Desired password for accessing the service
- Please repeat the access key – the password must be re-entered in order to check that it is the desired password and ensure correct user registration.
- Name – User name
- Surname(s) – User surname(s)
- Organisation – Organisation to which the user belongs
- Contact telephone number – User contact telephone number.
In order to register the user, please click . Once the user has been created, an acceptance message for the service is sent to the email address.
1.3 Password reminder
If the user cannot remember the password for accessing the system, this may be sent to his or her email inbox by clicking on the link appearing in the figure:
After clicking on the link, a form appears where the email address registered with the system must be entered
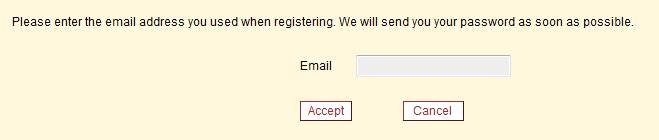
After clicking the user receives an email message in his orher inbox, with the access key currently held on the system.
1.4 Queries
Once the start window is in this area, please click on the tab  in order to access the list of queries stored in the system. in order to access the list of queries stored in the system.
In each entry in this list, are the following options:
- Delete
 : Clicking on this option deletes the query. : Clicking on this option deletes the query.
- Apply
 : Clicking on this option system executes the stored query. : Clicking on this option system executes the stored query.
- Description :
Descriptive text for the query shown at the time of creation.
1.5 New query
In order to store a new query, the user must first execute the query, and once results are displayed
please click on “Save my queries” within the submenu of “Advanced functionalities”. Once this option has been clicked on, a form is displayed:
In this window there is a text field for entering the description of the query. Once the text has been entered, please click on “Save in my queries” in order to save the query.
1.6 Filters
Once the start window is in this area, please click on the tab  in order to access the list of queries stored in the system. in order to access the list of queries stored in the system.
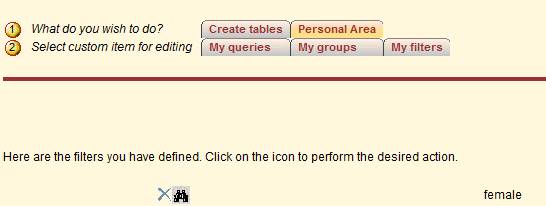
In each entry in this list, are the following options:
- Delete
 : Clicking on this option deletes the filter. : Clicking on this option deletes the filter.
- Show
 : By clicking on this option, the system displays the content of the stored filter. : By clicking on this option, the system displays the content of the stored filter.
- Description :
Descriptive text for the filter shown at the time of creation.
1.7 New filter
In order to store a new filter, the user must first create the filter during construction of a query, selecting the elements contained in the filter in the “Filters” tab and
 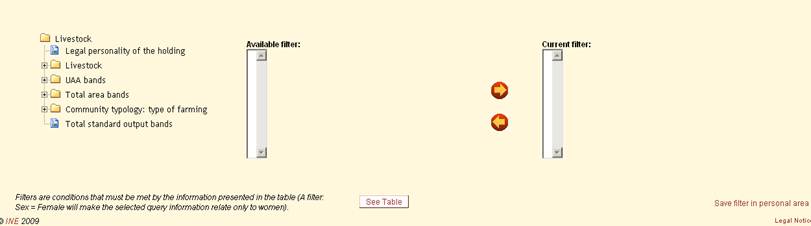
clicking on “Save in my personal area” within the filtering window. Once this link has been clicked, the following form appears:

In this window there is a text field for entering the description of the filter. Once the text has been entered, please click ““Save in my personal area” to save the filter.
|